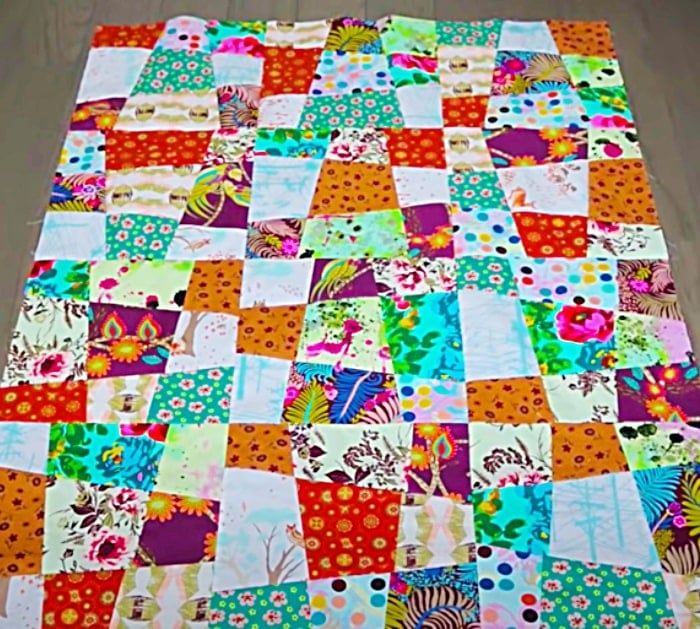
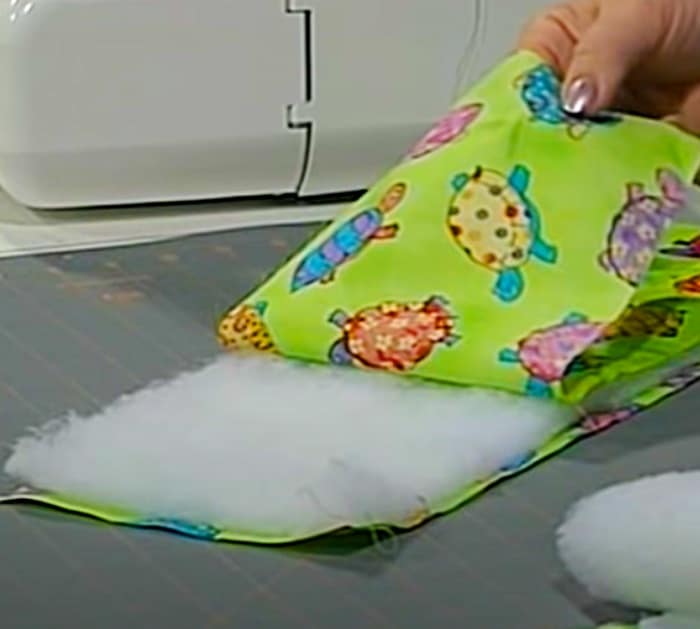
Kaye Wood is a legend in the quilting world and is sadly no longer with us. This vintage quilting tutorial is one of her finest, where she tells us how to make a 6-hour quilt. Kaye makes this quick and easy quilt using a serger and sandwiches her batting between two layers of fabric with right sides up. She simply serges the three layers together all at once and this neat method makes for some really fast quilt making. Kaye has a free pattern available for this quilt as well, which really makes this project a home run. This quilt is a great project for when you need a few quilts in a short amount of time to give away to charities, such as nursing homes and neonatal wards in a hospital. You can make this quilt on a sewing machine, but Kaye’s instructions are for a serger.
Materials:
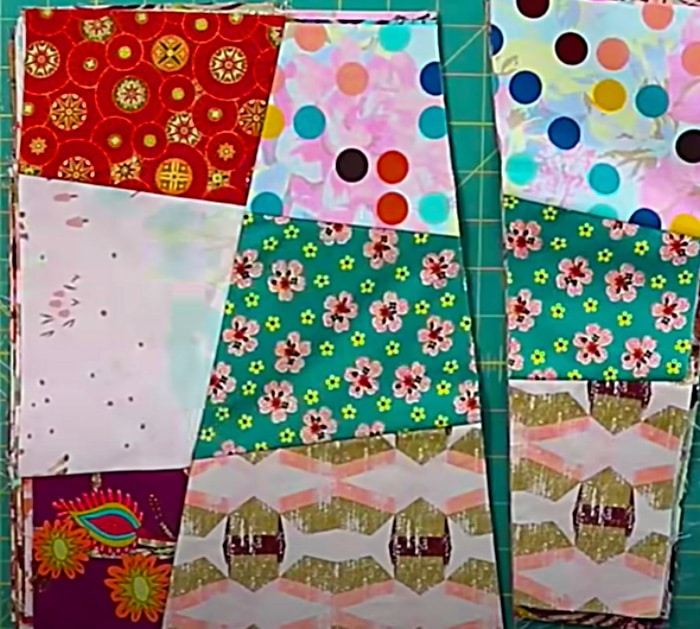
- Fabric
- Batting
- Thread
- A Serger
Directions:
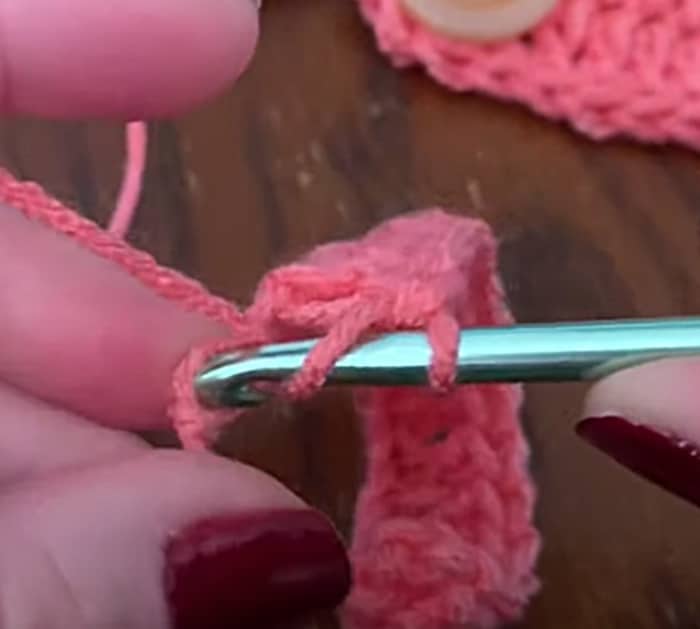
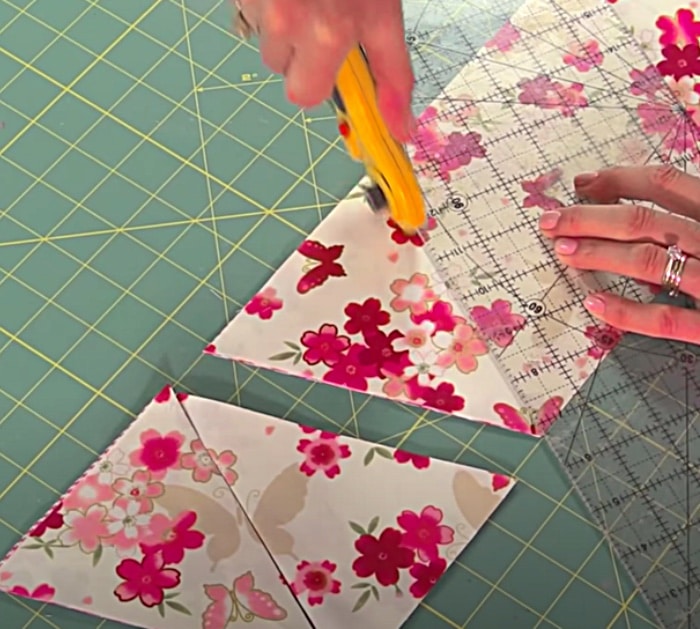
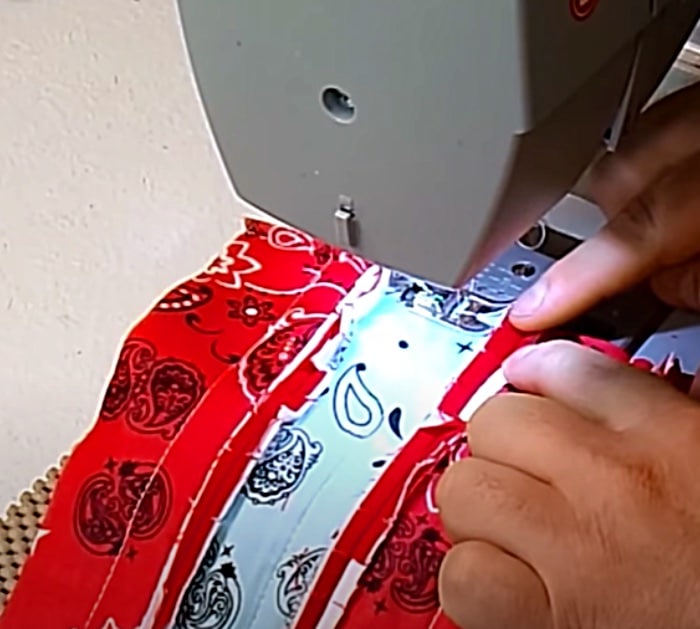
In this video, you will learn Kaye Wood’s distinct style of quilt making. Kaye makes this quilt all layered together in what she calls, a peanut butter and jelly style and sews all the layers at one time with the right sides facing out.
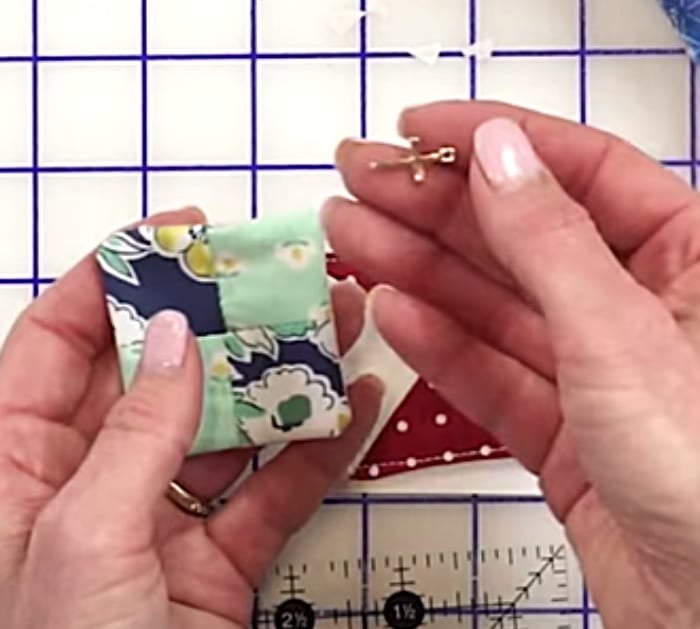
The outside seams are really cool and easy to make using a serger and make this quilt really durable.
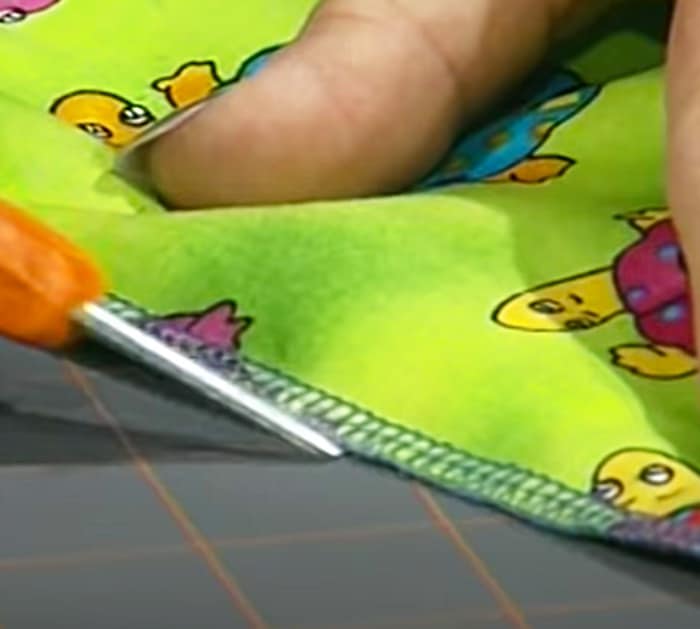
This quilt can take a beating, you can wash it and dry it like any other ordinary bedding.
How To Make A 6 Hour Quilt
The post How To Make A 6-Hour Quilt appeared first on DIY Joy.
* This article was originally published here